I’ve never been a fan of blocking my yarn-based projects. It’s slow and a bit of a pain, usually. After I’ve just spent a bunch of time weaving in the ends of my thread (which is slow enough), I’ve usually run out of patience to find an appropriate surface, shape the project, pin it in place, get it perfectly damp, and then wait anywhere from overnight to a few days for the stupid thing to dry. If I’ve finished making the project, I want to be done with it and move on. I may need to change that attitude, though.
I recently finished this lovely pattern, pictured below. After several false starts, the design finally finished well. However, it would not lay flat. It was cup-shaped, with the outer ring being tight and the 5mm connecting threads being somewhat too long to match the design. While I don’t have a picture, imagine a flower that’s rather floppy and you’ll be close. This was the first design I followed that simply would not lay flat. So, it was time for blocking.

While there are many methods, tools, and preferences when it comes to blocking a tatted piece, I went with the relatively lazy route. My surface was a towel on the back of a chair. I did happen to have a bunch of lace pins handy, which made the process much easier.
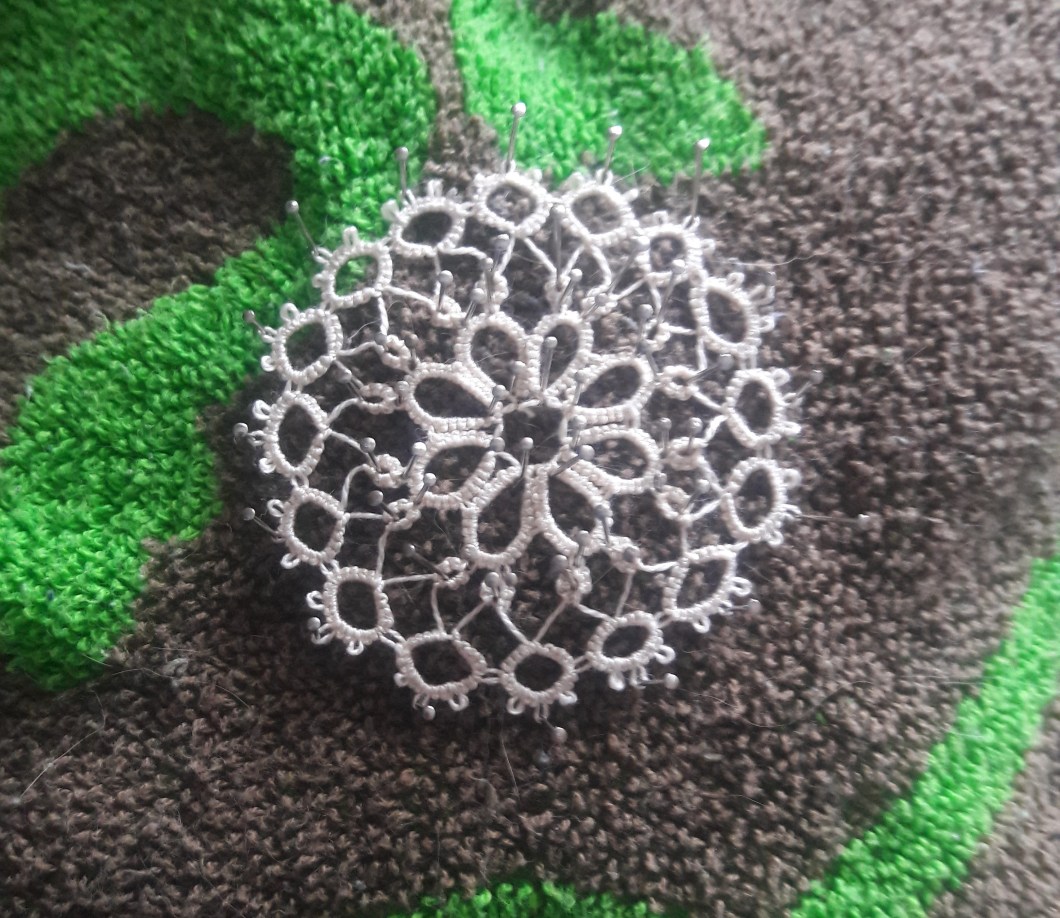
The goal of blocking is to stretch the piece the way you want it to end up, then encourage it to stay that shape, usually with water or a bit of starch. Pins go in picots or at the joins of loops or chains, and shouldn’t go through the thread itself. I didn’t pin every single picot around the outside of the piece, but I did pin one picot of every outer loop. For this tiny piece that can fit in my palm, I used 56 pins, all carefully placed. This is why the process can be a royal pain.
Next, I spritzed the lace with some distilled water until it was pretty damp, but not soaking. After letting it dry for about 18 hours, here’s the result!

A beautiful, flat piece of lace! I did manage to damage my ending join in the center of the project — I’m still figuring out how to tie them together well. In any case, I could make more of these and put together a larger piece! Something like this, maybe.
Maybe not. Anyway, blocking is good and is an important final step for making yarn or thread projects sit exactly the way you want. Today, I have learned.
